From Overwhelmed to Organized: A Simple Editing Workflow for Busy Creators
If your phone, camera, or cloud is packed with clips and recordings you meant to share months ago, you’re not alone. Most creators don’t get stuck at the idea stage—they get stuck at the finishing stage. The good news: you don’t need new gear or a 6-hour editing marathon. You need a simple, repeatable workflow that turns raw into ready—fast.
Below is the same 3-step system I use with clients to cut through decision fatigue, save time, and publish with confidence. It works for YouTube videos, podcasts, reels, course content, and even family memory projects.
Promise: one focused session, one finished piece. Then repeat.
Step 1: Sort (12–15 minutes)
Start by reducing choices. Dump everything for this piece into a single project folder. Create three subfolders:
01_RAW (all your source files)
02_SELECTS (the best takes/clips only)
03_ASSETS (music, logos, titles, b-roll, screenshots)

Rename your primary files so you can find them later:2025-08-24_topic_take01.mp4 (or .wav, .mov, etc.)
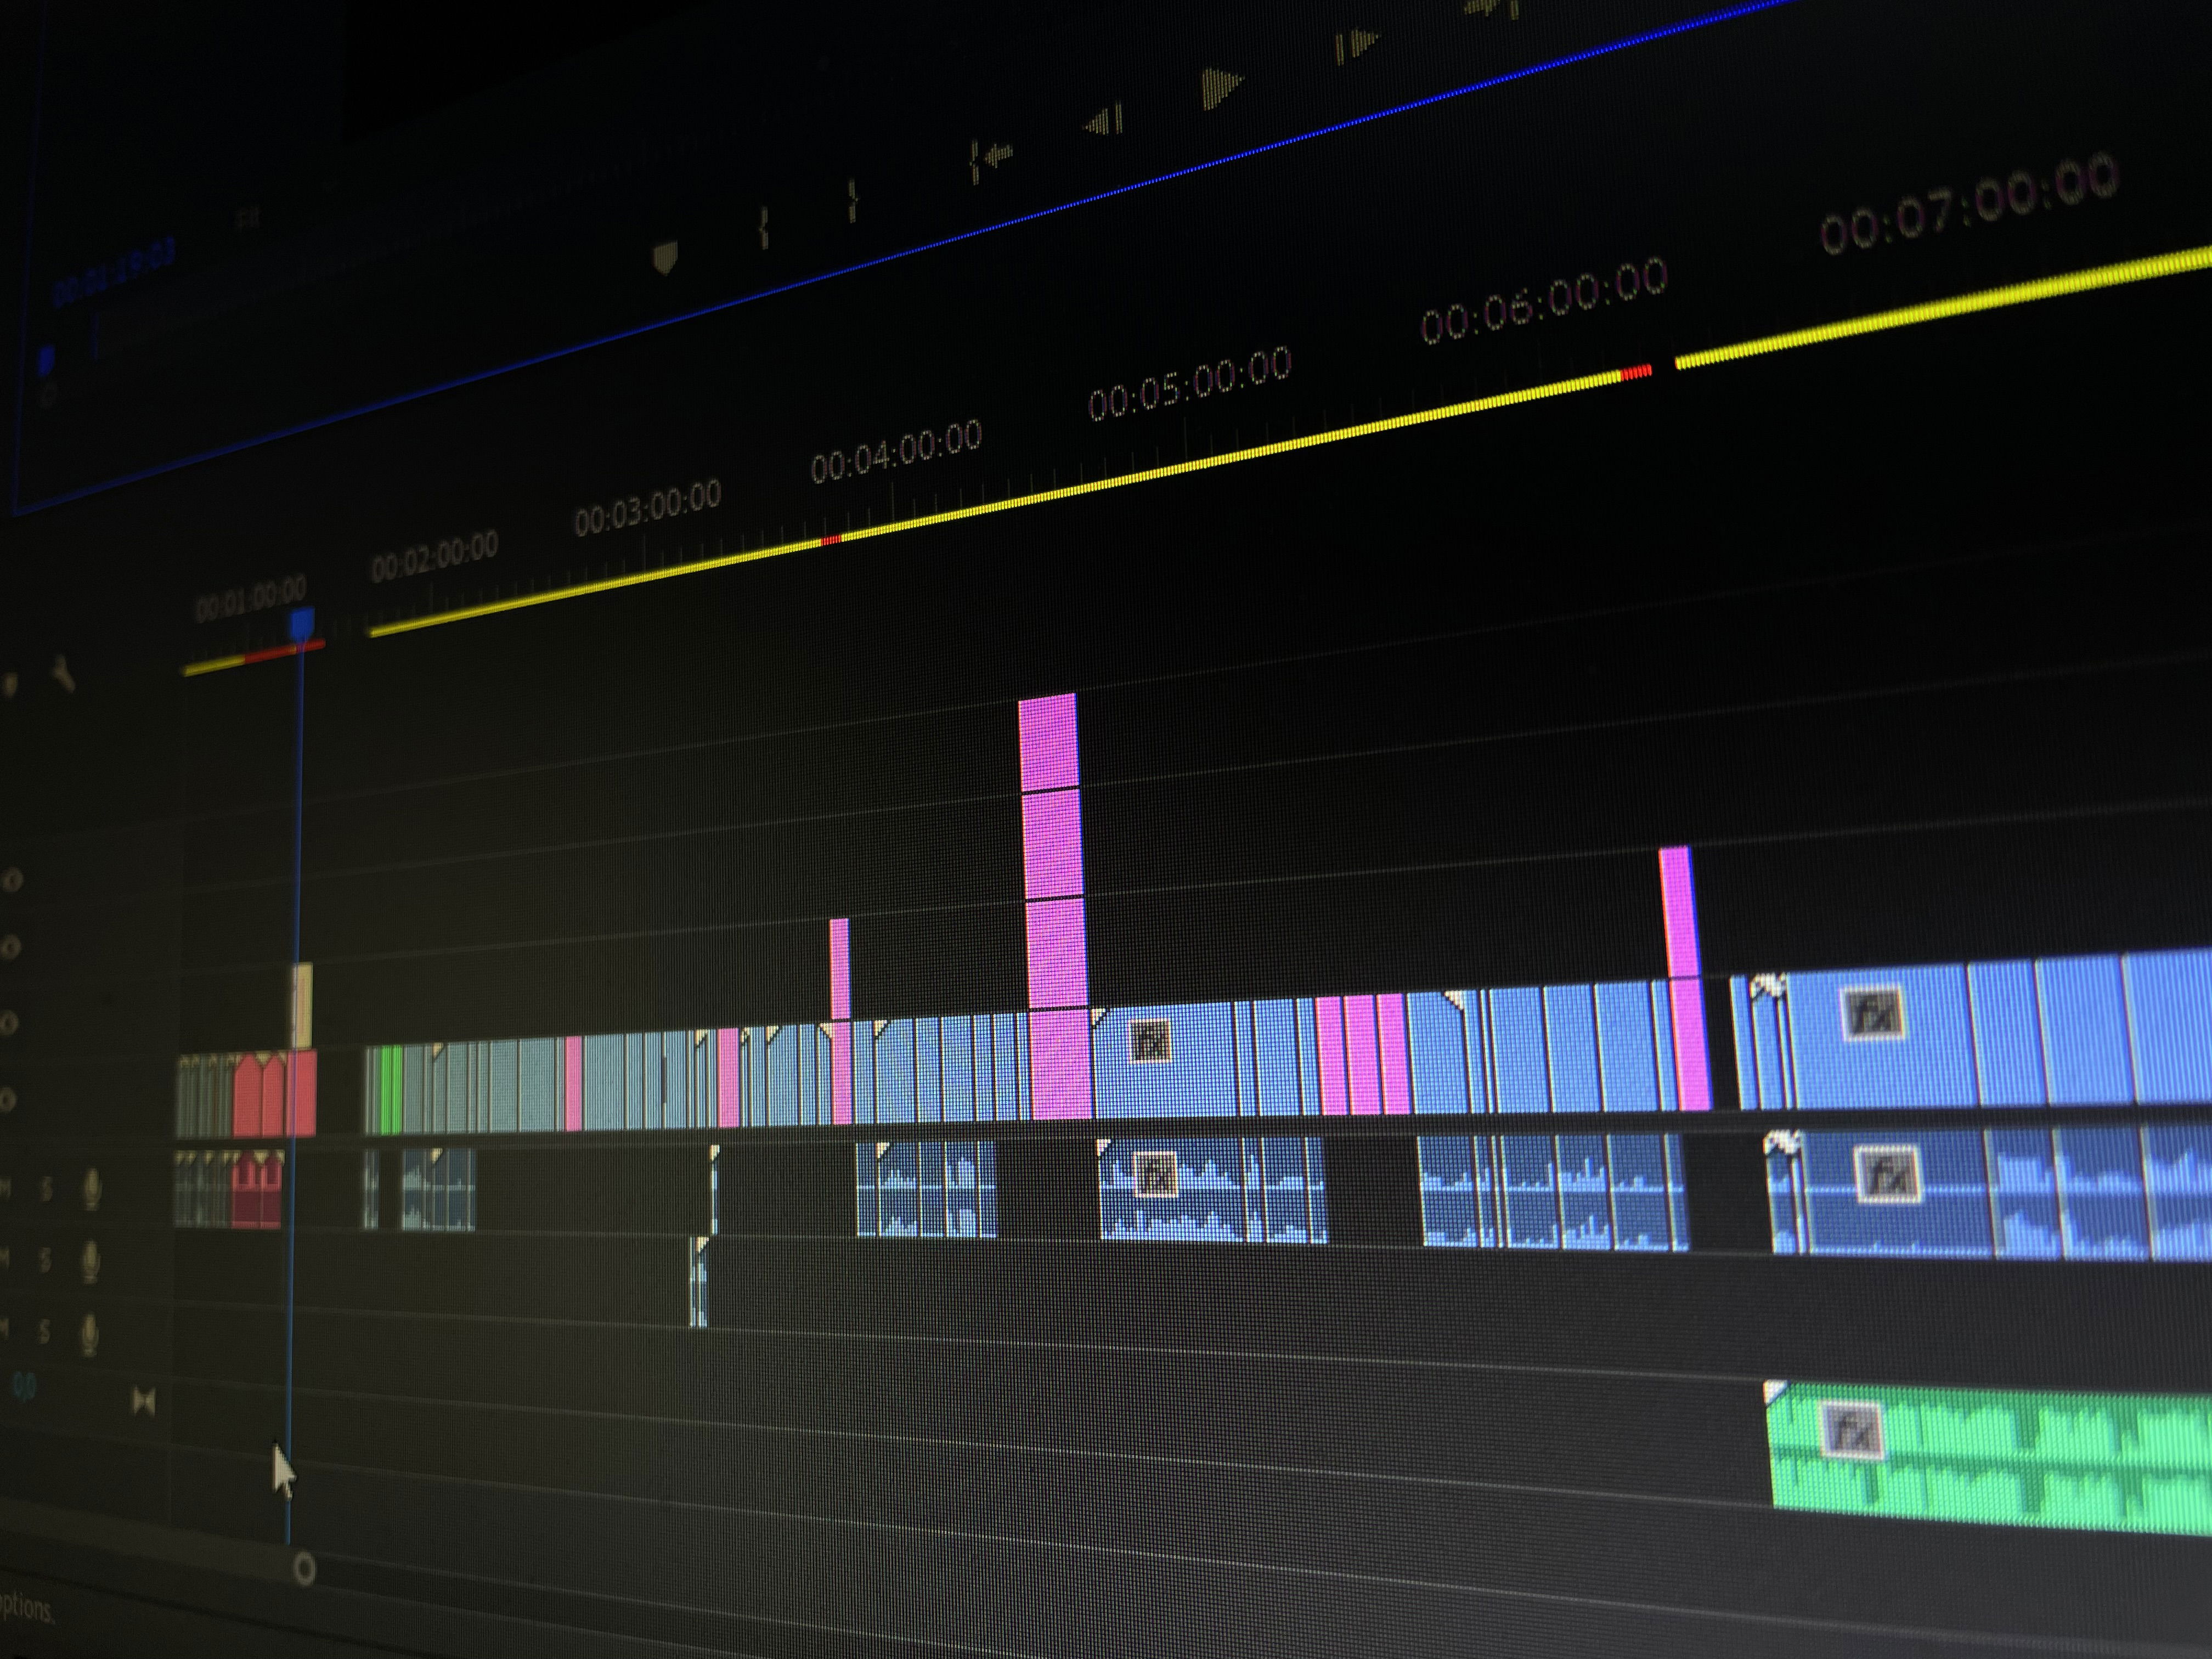
Open your editor and make a quick selects pass: play each clip once, mark the best bits, and move only those into 02_SELECTS. If you’re editing a podcast, drop markers where you flub, pause too long, or want to remove filler. You’re not “editing” yet—you’re shrinking the pile.
Timebox it. When the timer dings, move on—even if you’re not “done.”
Step 2: Rough Cut (45–60 minutes)
Build a simple spine. Think: Hook → 1–3 key points → Close/CTA.
- Trim obvious dead space and stumbles.
- Keep your natural voice; just remove friction.Keep the pace lively. For talking-head video, aim for clean cuts; for podcasts, tidy up long silences and big “ums.”
- Place b-roll or supporting visuals over the talking track where attention might dip.
- Balance the voice so it’s clear and consistent; set your music to sit under the voice, not beside it.
Perfection isn’t the goal here—clarity is. When the structure works, stop tweaking.
Step 3: Polish (20–30 minutes)
This is where a little finesse makes it feel professional.
- Titles & lower thirds: name, topic, or one key takeaway.
- Captions: boost retention and accessibility.
- Color & sound touch-ups: small corrections go a long way.
- Music bed: gentle, consistent; keep it well below the voice.
- Branding: add your logo, end card, or a consistent outro line.
- Export presets: save time by exporting for the platform you’ll use:
- YouTube: 16:9 1080p
- Reels/Shorts: 9:16 1080×1920
- Square feed: 1080×1080

Hit export. Done is better than “almost perfect.”
Bonus: Repurpose in 10 Minutes
Once the main piece is done, quickly create two or three supporting assets:
- A 30–60s teaser cut
- A quote card from one strong line
- An audiogram or short reel with captions
- Schedule them to drip out over the week. One session → multiple posts.
Avoid These Common Traps
- Endless takes.
- Pick a best take, trim the rest.
- Too many effects.
- Clean beats flashy.
- No finish line.
Set a 90-minute limit. Then publish.
A Fast Checklist You Can Save
- Centralize files → 01_RAW / 02_SELECTS / 03_ASSETS
- Select once, quickly
- Build Hook → Points → Close
- Trim friction; keep flow
- Add titles, captions, light color/sound
- Export for platform(s)Repurpose 1–2 short pieces
- Schedule and move on
You don’t need to be an editing expert to share work you’re proud of—you just need a simple path from overwhelmed to organized. If you want to stay in your creative zone and hand off the rest, that’s exactly what I do.
Need help finishing your backlog? Email me at pamela@pamelasmediamagic.com and I’ll turn your raw folder into ready-to-share content.Or grab the Digital Magic Starter Kit to see 7 ways we transform raw media into polished stories.
"Every story has a little magic in it—let’s bring yours to life." ~ Pamela